
Week 1 Summary of Labor and Delivery:
Smooth sailing...smooth sailing....new attending physician....Lake Michigan during a storm sailing.
Allow me to recap- Scenario #1- Morning Rounds:
Attending: Tell me about patient X
Me: Patient X is a 20year old G2P1102 NSVD at 39w1d with hx of thrombocytopenia
Attending: Describe the etiology of thrombocytopenia during pregnancy
Me: Um Um....low platelets....*desperately looking for someplace to hide, or a code blue button to push*
Attending: AND
Me: Eyes bulging, sweat forming.....At this point all I could think of was running down the hall frantically crying....I think I mumbled something about DIC and purpura
This situation ended with her giving me the answer, and me surviving pimp scenario #1.
Scenario #2: Operating Room- Cesarian Section
Attending: "Suction the blood in the area I'm working"
Me Thinking: Yay I get to do something, I'm in the big leagues, I get to suction!
Attending: NO you're suctioning the wrong area, suction where I'm working
Me Thinking: OH NO! I'm not suctioning right, all I have to do is suction and I'm not suctioning right! MUST Suction right, MUST suction right.
* Trying to suction where she is working, without suctioning the skin off her fingers*
Attending: No no, just give it to the resident, resident suction for me.
FAIL. I am being overly dramatic. I survived, and got to do and see ALOT of cool things ( I later got to retract, staple, and generally make up for my lack of suctioning skills). If I could do everything, and know all the answers I wouldn't be a student.
But, this leads me to my point- After a long day of getting "pimped" there is nothing I look forward to more than my nice comfy bed, which recently got a little makeover.
When I moved this summer I left my little twin bed behind and moved on to greener pastures in the form of a queen sized Ikea Heimdal Metal Frame Bed: $129.

I KNOW, you don't need to tell me....it is a little...lackluster. BUT I challenge you to find a modern bed that is affordable. They just don't exist, I promise you.
Clearly this bed was not making the mark- I have always wanted one of those Alice in Wonderland type headboards, where you feel like you're sleeping in the Ritz Carlton...and not a $129 Ikea bed. So, I set my mind to making a new headboard to spruce things up.
Inspiration: West Elm Diamond Tufted Headboard $449

There are so many tutorials on how to make a DIY tufted headboard- but this is Kaitlin's one of a kind Ikea Headboard Hack
Materials:


Step 5: Cut the foam to size. Using spray adhesive, adhere foam to plywood


Smooth sailing...smooth sailing....new attending physician....Lake Michigan during a storm sailing.
Allow me to recap- Scenario #1- Morning Rounds:
Attending: Tell me about patient X
Me: Patient X is a 20year old G2P1102 NSVD at 39w1d with hx of thrombocytopenia
Attending: Describe the etiology of thrombocytopenia during pregnancy
Me: Um Um....low platelets....*desperately looking for someplace to hide, or a code blue button to push*
Attending: AND
Me: Eyes bulging, sweat forming.....At this point all I could think of was running down the hall frantically crying....I think I mumbled something about DIC and purpura
This situation ended with her giving me the answer, and me surviving pimp scenario #1.
Scenario #2: Operating Room- Cesarian Section
Attending: "Suction the blood in the area I'm working"
Me Thinking: Yay I get to do something, I'm in the big leagues, I get to suction!
Attending: NO you're suctioning the wrong area, suction where I'm working
Me Thinking: OH NO! I'm not suctioning right, all I have to do is suction and I'm not suctioning right! MUST Suction right, MUST suction right.
* Trying to suction where she is working, without suctioning the skin off her fingers*
Attending: No no, just give it to the resident, resident suction for me.
FAIL. I am being overly dramatic. I survived, and got to do and see ALOT of cool things ( I later got to retract, staple, and generally make up for my lack of suctioning skills). If I could do everything, and know all the answers I wouldn't be a student.
But, this leads me to my point- After a long day of getting "pimped" there is nothing I look forward to more than my nice comfy bed, which recently got a little makeover.
When I moved this summer I left my little twin bed behind and moved on to greener pastures in the form of a queen sized Ikea Heimdal Metal Frame Bed: $129.
Clearly this bed was not making the mark- I have always wanted one of those Alice in Wonderland type headboards, where you feel like you're sleeping in the Ritz Carlton...and not a $129 Ikea bed. So, I set my mind to making a new headboard to spruce things up.
Inspiration: West Elm Diamond Tufted Headboard $449
There are so many tutorials on how to make a DIY tufted headboard- but this is Kaitlin's one of a kind Ikea Headboard Hack
Materials:
- Fabric- I used 3 yards of Ikea Gray Linen Fabric $18, and there was plenty leftover
- Plywood (Free! Thanks dad!)
- Button Kit- I ended up making 22 buttons, I purchased the kits from Joanne Fabrics for $16
- Spray Adhesive
- 1.5-2" Foam- I used a full size foam mattress topper (egg crate topper) purchased at Walmart- $11
- Long strong tufting needle, and strong string/twine
- Staple Gun- Purchased at Home Depot- $11
- Batting- Sized large enough to cover the plywood
- Plastic zip ties
This was my starting point: Stop judging me. Not everyone has an immaculate bedroom.
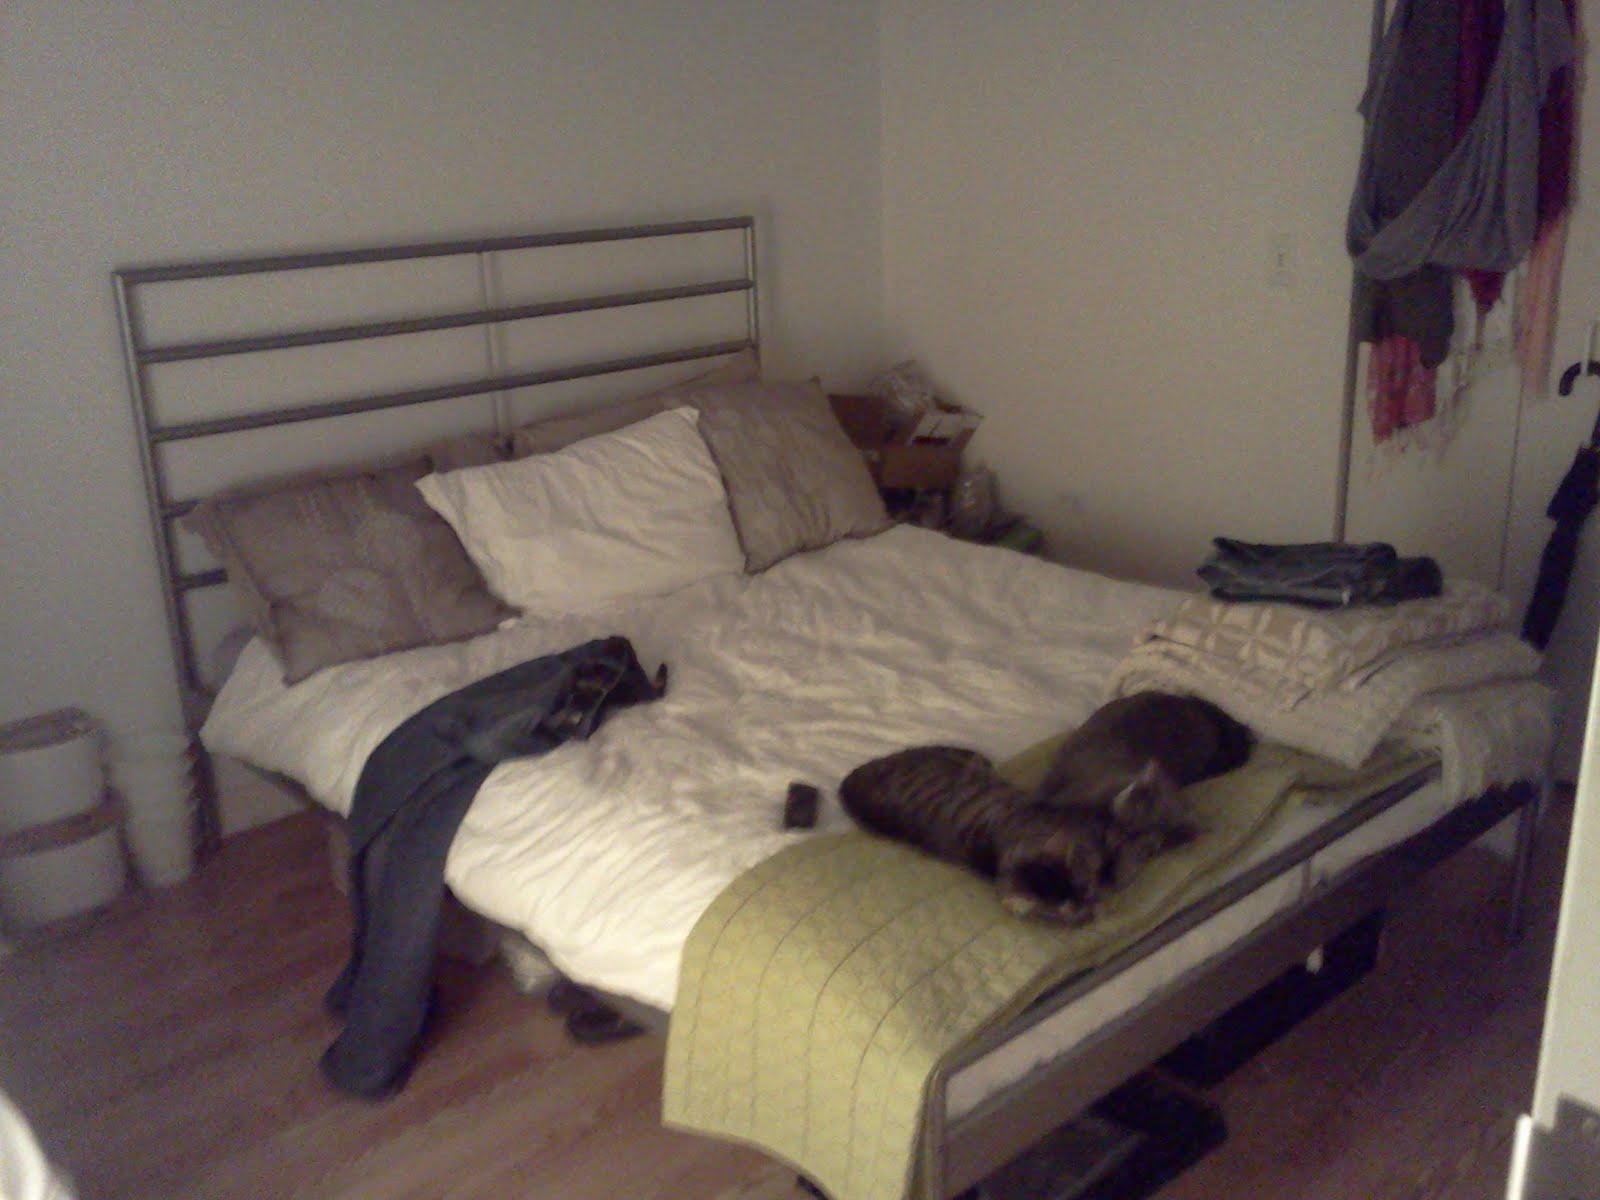
Step 1: Cut plywood to desired size
From the beginning, I knew I wanted to keep the bedframe. The only dilemma was that in order to keep the frame I HAD to keep the headboard, or the bed would be missing two legs. So, I cut the plywood to fit the size of the current headboard. The pictures below may give you a better idea of what I mean
Step 2: Mark the spots where you want the buttons to go on the headboard, and drill holes large enough to fit the tufting needle
I also drilled holes where I was going to tie the current headboard to the plywood --See pictures below
Step 3: Affix the plywood to the metal headboard frame using plastic zip ties


Step 4: Remove headboard frame +Plywood from the rest of the bedframe
 |
See! The bed wouldn't have legs without the headboard frame! |
Sorry I forgot to photograph this step. My bad.
Step 6: Cover the foam/plywood with batting. Staple OVER the metal frame.

Step 7: Cut the fabric to size and cover the batting with fabric.
Once again, staple over the metal and batting. Take special care with the corners. I stapled them as if I was wrapping a Christmas present. You can stop here if you are too lazy to tuft, but I'm a go-getter!

Step 8: Make buttons with left over fabric.
This step is painful, just follow the directions on the package. If I never see another button kit in my life, it will be too soon.

Step 9: Sew the buttons on.
This is where the previously drilled holes come into play. Thread the needle, insert it through the previously drilled hole in the plywood, through the foam, batting and fabric, and out the front. Thread the button onto the thread and guide the needle to the back. Put some muscle into it so the tufts are deep. Staple the thread to the plywood.

Behold: My bed fit for a queen. Don't mind the ugly bedding and pillows....future posts to come! I can't put all of my eggs in one basket....

Behold my $75 Masterpiece (and my incredibly awful photoshop attempt to cover up my disaster bedroom....)
Update: Here is a slightly better picture one year later...still holding up well...even though my cats have decided it is a great scratching post alternative....

Update: Here is a slightly better picture one year later...still holding up well...even though my cats have decided it is a great scratching post alternative....

No comments:
Post a Comment