Friday, August 10, 2012

DIY Succulent Terrarium

Whoa em gee.  Has it really been 4 months since I last posted?  Yes, yes it has.  I really have no excuse aside from my new found addiction to trashy novels and, in general, just being really really lazy.

Anyways, this post was intended for mother's day....but then Fifty Shades of Grey happened...and yeah.  That's that.  So without further ado:

DIY Terrarium


I made this terrarium as a gift for mother's day.  I love the way it turned out, and these guys are relatively easy to care for.  You can either put together the terrarium yourself, or you could consider gathering all the components and making a little terrarium gift basket for someone that doesn't mind getting their hands a little dirty. The whole process takes less than an hour, and is pretty simple!

Ingredients:

  • Apothecary Jar-  these can be found at many stores, TJ Maxx and Marshalls have a great selection for $9.99
  • Stones for decoration and drainage-  Bags are available at the Dollar store...or you can steal from your neighbors driveway.....
  • Activated charcoal (You only need this if you plan on keeping the lid on the jar)
  • Soil-  If using succulents or cactii there is specific soil you can purchase, $4.99 at good ol Home Depot
  • Plants-  I've seen all kinds of plants used ranging from succulents to just moss or ferns, but I went with two succulents that I purchased from Home Depot
  • Moss
Steps:
1. Using a clean vase, layer the stones at the bottom of the terrarium for drainage (~1 inch is adequate)
2. Mix in activated charcoal and potting soil, filling about half the container
3. Arrange plants into the terrarium
4. Arrange moss and decorations into terrarium
5. Water with light amount of water, and place in moderate sunlight


I just loved the way it turned out!  Happy Planting!


Sunday, March 25, 2012

With great mustache comes great responsibility

Okay I'm just going to address what you all have been thinking:  No, I didn't die.  I just literally fell off the face of the earth for the past month.

I just completed a month of trauma surgery at Cook County. What can I say?  It was AH-MAZING.  I loved it!  The majority of the patients in trauma have sustained penetrating injuries (gunshots, stab wounds...I know what you're thinking....people shot in Chicago?  Unheard of! JK JK...according to the chief resident CCH is #3 in the US for penetrating injuries!!).  There are also some blunt head injuries, motor vehicle accidents, and burns scattered in between.  The stories I heard in trauma made me question mankind.  Seriously.  People are scary.  Chicago is scary.  But, I don't want to depress you with the details...so I'll move on to the tutorial of the day:

Mustachery! Okay, if you are a DIYer like me...you probably saw this tutorial years ago.  But hey, I'm slow.

Sean and I are warm drink lovers...I say warm drink because I think we have used the coffee maker 2 times max.  We prefer to walk to dunkin donuts than clean the machine (ATTN KEURIG, send me one of your coffee makers, I beg you!) We typically stick to hot chocolate + peppermint schnapps.

Our mug collection is SAD.  Its a menagerie of mugs collected by someone else, that we just happened to end up with. Time to mustache things up.


Items needed:

  • Mugs-  I headed my impoverished bod to Goodwill where I found a nice assortment of mugs for 49 cents each!
  • Paint- I used "Folkart Enamel"- It's an acrylic paint purchased from Michaels...it was less than $2.00 not including coupon
  • Paint brushes
  • Alcohol swabs
So, basically just follow the directions on the paint bottle. But I'll spell it out for you:

1.  Gather supplies
2.  Decide on the design.  I wanted mustaches, so I found a fun pdf online and printed it, you can find the template I used here: http://stachist.com/wp/wp-content/uploads/2011/01/mustache_print_out.pdf

Sean wanted the fu manchu...I wanted to go more classic.

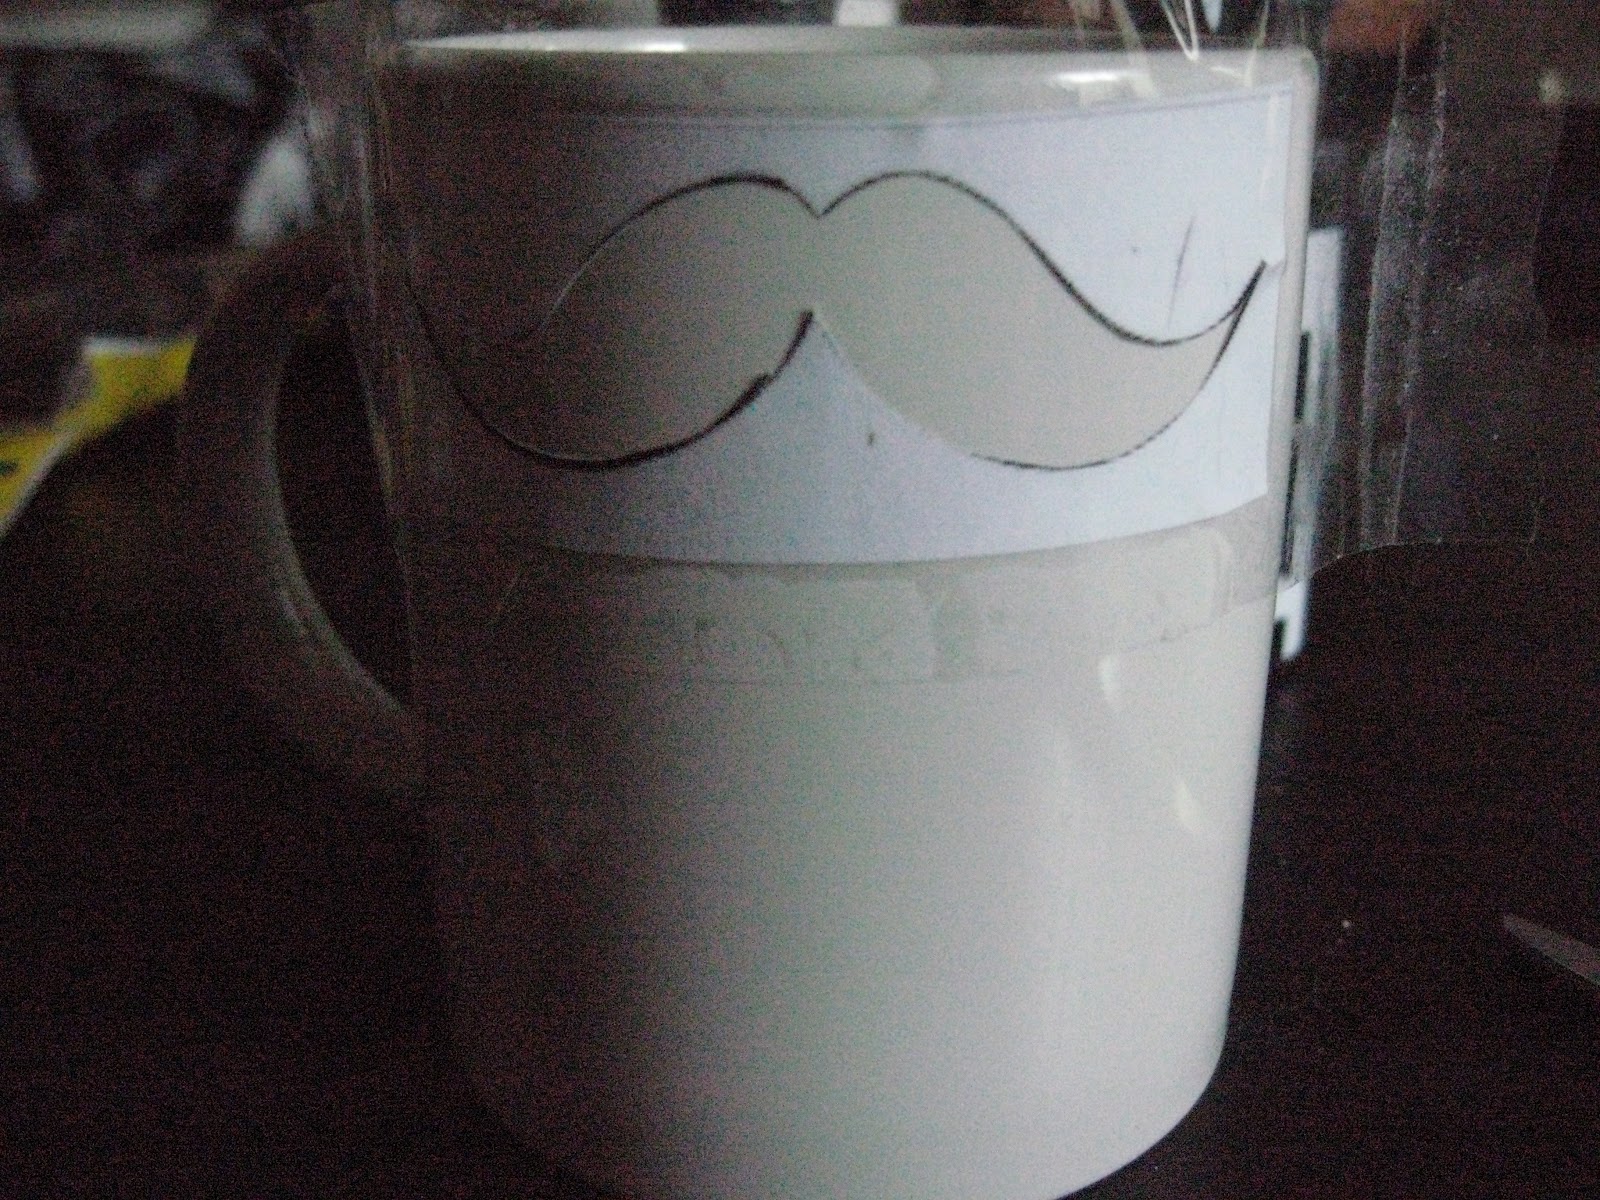
3.  To make the stencil I printed the mustache, placed clear tape over the top of the print out, and then cut out the design and taped the stencil to the mug.  Be sure to clean the mug with an alcohol swab prior to stenciling.


4.  Stencil or free hand your design to the mug.  I just stenciled using a thin sharpie marker
5.  Fill in your design with the enamel paint.  After you are done painting allow the mug to air dry for 1 hour. After 1 hour has passed, place the mug in a cool oven and allow to bake for 30 minutes at 350 degrees.  After 30 minutes turn off the heat and allow the mug to cool in the oven.

6.  Take pictures of yourself looking foolish, and enjoy some java (or schnapps...you decide)


P.S.  The mugs are dishwasher safe (top rack)!  Drink up!


Pin It button on image hover